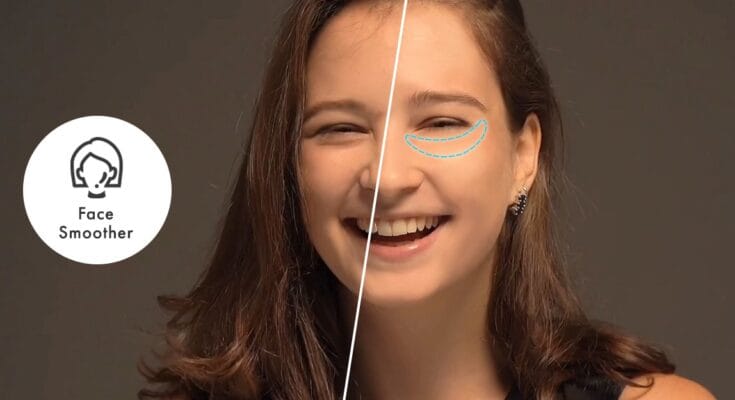
Smooth face editing has become a popular aspect of photo retouching, enhancing the natural beauty of a subject without making the image look overly artificial. Whether you’re an aspiring photographer, a social media influencer, or simply someone who loves a flawless selfie, these techniques will help you achieve professional-quality results. Here’s a guide to the best smooth face editing methods and tools.
1. Understanding the Basics of Face Editing
Before diving into specific tools, it’s essential to understand what smooth face editing entails:
- Smoothing Skin Texture: Reducing blemishes, acne, or uneven tones while retaining natural skin texture.
- Evening Skin Tone: Correcting discolorations and enhancing consistency.
- Highlighting Features: Accentuating natural beauty, like eyes and lips, without overpowering the image.
2. Top Tools for Smooth Face Editing
a) Adobe Photoshop
Adobe Photoshop remains the gold standard for professional photo editing.
- Frequency Separation: This technique separates skin texture and color for more detailed edits.
- Spot Healing Brush Tool: Perfect for quick blemish removal.
- Gaussian Blur: Use sparingly for smoothing skin without losing detail.
b) Lightroom
Lightroom is excellent for basic skin retouching.
- Adjustment Brushes: Apply selective smoothing or sharpening.
- Presets: Use pre-made filters to achieve consistent results.
c) Mobile Apps for Smooth Face Editing
For on-the-go editing, mobile apps are a game-changer:
- Facetune: Popular for its ease of use, offering tools like smoothness, details, and blemish removal.
- Snapseed: Features precision tools like the Healing Brush and Skin Smoothing.
- AirBrush: Specializes in portrait retouching with user-friendly features.
3. Step-by-Step Guide to Smooth Face Editing
Step 1: Start with a High-Quality Photo
Begin with a clear, well-lit image. Natural lighting works best to reduce harsh shadows and overexposure.
Step 2: Remove Imperfections
Use tools like the Healing Brush or Spot Removal to eliminate blemishes or distractions without overediting.
Step 3: Smooth Skin Gently
Avoid overly smoothing the skin. Use sliders or brush settings to retain a natural texture.
Step 4: Adjust Brightness and Contrast
Enhance the image by balancing brightness and contrast, focusing on the subject’s face.
Step 5: Highlight Key Features
Make eyes sparkle, enhance lips, or add subtle highlights to cheekbones using sharpening and contrast tools.
4. Best Practices for Natural-Looking Results
- Avoid Over-Editing: Too much smoothing can make the face look plastic. Aim for realism.
- Zoom In and Out: Frequently check edits at different zoom levels to ensure consistency.
- Use Layers: In advanced tools like Photoshop, use layers to keep original images intact.
- Maintain Proportions: Avoid altering facial features unnaturally.
5. Recommended Plugins and Filters
- Portraiture: A Photoshop and Lightroom plugin designed for professional portrait retouching.
- Beautify Panel: A plugin offering quick retouching presets for Photoshop.
- VSCO and Instagram Filters: Ideal for casual edits with stylish looks.
6.Conclusion
Smooth face editing can transform an image when done correctly. The key is to enhance the subject’s natural beauty without overdoing it. By using the right tools and techniques, you can create stunning, professional-quality photos that stand out.


